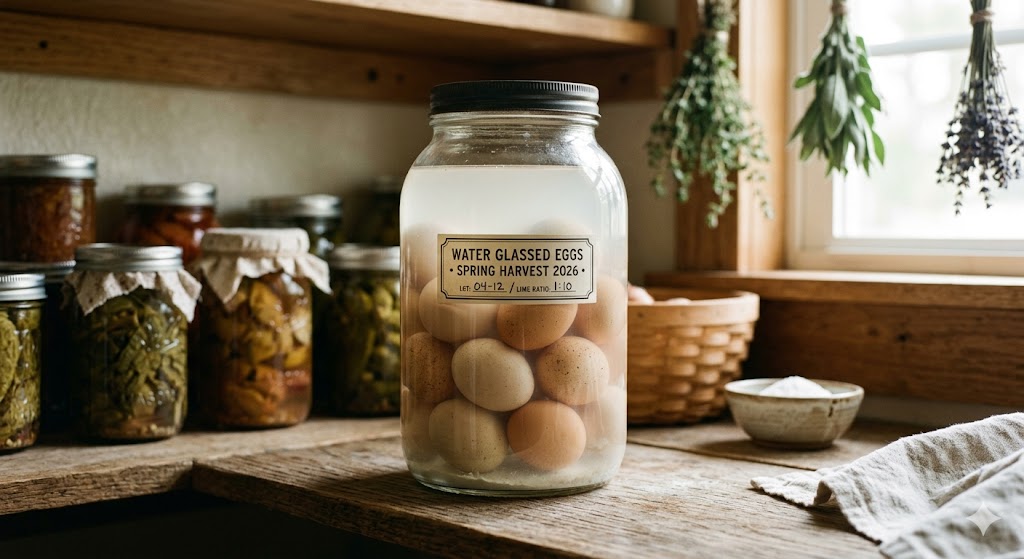
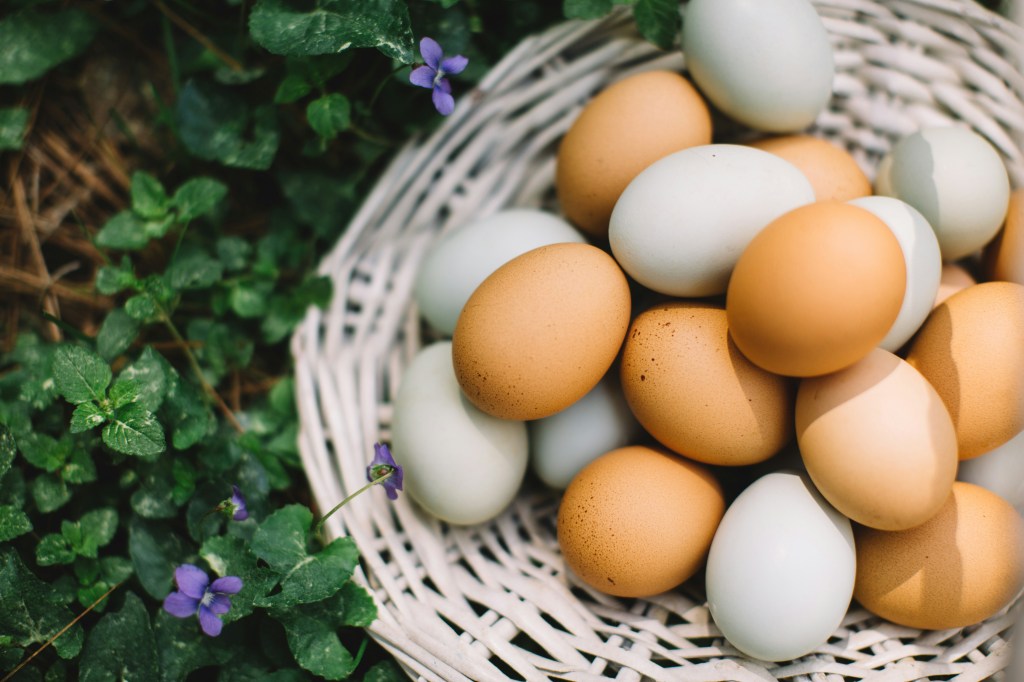
When your hens are laying more than your family can eat, water glassing is one of the best and most reliable ways to preserve your harvest. Used for generations before the invention of the refrigerator, this method uses a simple mineral solution to seal the pores of an eggshell, locking out air and bacteria for months.
How Do They Taste?
One of the most incredible parts of this heritage technique is that when you crack open a water-glassed egg months down the line, it tastes exactly the same as the day it was gathered from the nesting box. Because the pickling lime solution locks out oxygen and prevents evaporation, the egg inside is perfectly preserved in time. The yolk remains firm and golden, the white stays thick, and there is absolutely no chalky or chemical aftertaste. Whether you scramble them, bake with them, or fry them up in a cast-iron skillet, you are getting the true, unadulterated flavor of a fresh homestead egg, long after the summer laying season has passed!
What You Need to Get Started
- Fresh, Clean Eggs: Only use unwashed eggs straight from the coop. The natural “bloom” (the protective outer coating) is essential for a proper seal. Do not use store-bought eggs, as they have been washed and sanitized.
- Pickling Lime (Calcium Hydroxide): This is the “glassing” agent. You can find it in the canning aisle of most hardware or grocery stores.
- Distilled Water: Chlorine and minerals in tap water can interfere with the solution; distilled is best for long-term storage.
- A Food-Grade Container: A glass jar or a food-safe plastic bucket with a tight-fitting lid works perfectly.
The Ratio
The standard, safe ratio for water glassing is:
1 ounce (by weight) of pickling lime to 1 quart of distilled water.
The Method
1.Mix the Solution:
In a clean pitcher, whisk the pickling lime into the distilled water until it is fully dissolved. It will look like cloudy milk.
2.Prepare the Jars:
Gently place your unwashed, fresh eggs into your container. You can stack them carefully; just ensure you don’t crack them.
3.Submerge:
Pour the lime water over the eggs until they are completely covered by at least an inch of liquid.
4.Seal & Store:
Place a tight lid on the container to prevent evaporation. Store it in a cool, dark place (like a basement or root cellar).
3 Golden Rules for Safety
- Check for Cleanliness: Never use eggs with visible manure or debris. If an egg is dirty, wipe it with a dry cloth—never wash it with water, or you will destroy the bloom.
- The “Float” Test: When you are ready to use an egg months later, pull it out of the solution and rinse it well. If the egg floats when placed in a bowl of fresh water, discard it; a fresh egg should sink.
- Use for Baking: Water-glassed eggs are excellent for baking, scrambling, or hard-boiling. However, since the shell becomes slightly porous over time, they are generally recommended for cooked applications rather than delicate raw recipes like homemade mayo.
The Digital Hearth Reminder: Water glassing is a beautiful link to our ancestors’ self-sufficiency. Always start with a small batch to get comfortable with the process, and keep a log of when you “put your eggs down” so you can rotate your pantry stock effectively.
Tell us in the comments: Are you planning to try water glassing this season, or do you have another favorite way to preserve your egg surplus?
A Note from the Hearth: We love sharing these traditional preservation methods, but please remember that we are not food scientists. Water glassing is a traditional practice that relies on maintaining a specific alkaline environment. Always ensure your equipment is clean, your eggs are unwashed and fresh, and your storage environment is cool and stable. If you are ever in doubt about the smell or appearance of an egg, rely on your intuition and discard it.
Warm Wishes & Safe Water Egg Glassing!
The Buttermilk&Burlap Family


Leave a comment